Whether you need a roof tile replacing, some new guttering or a completely new roof installed, our emergency roofers in Belfast can help 24 hours a day.
We provide both domestic and commercial emergency roofing services in Belfast and are proud of our excellent reputation and being the chosen roofing company in Northern Ireland.
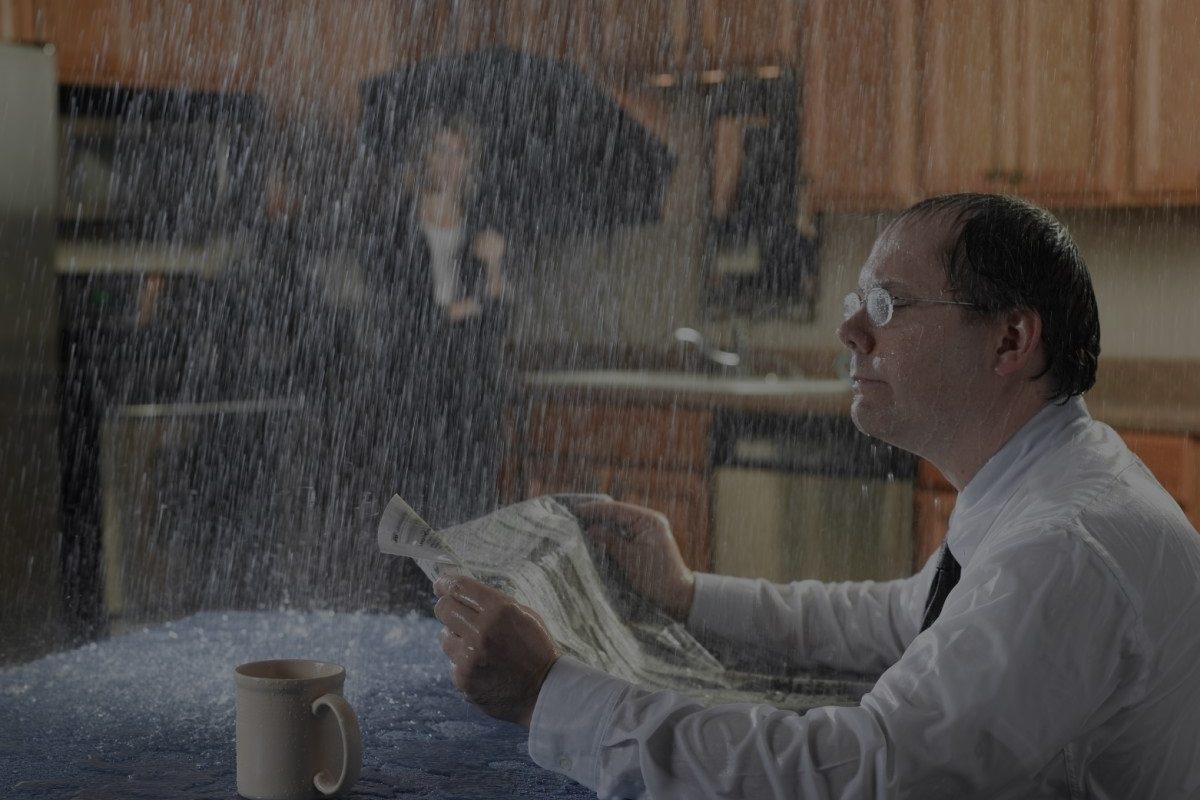
Emergency Roofing Contractors in Belfast
Advanced Construction & Roofing don’t use sub-contractors and no money is requested up front and payment upon satisfaction is our policy.
Our emergency roofing services in the Belfast area include:
- Emergency Flat Felt Roofing Repairs Belfast
- Emergency Roof Repairs Belfast
- Emergency Roof Maintenance Belfast
- Emergency Chimney Repairs & Repointing
- Emergency Re-Roofing Belfast
- UPVC Soffits and Fascias Belfast
- EPDM rubber roofing Belfast
Advanced Construction & Roofing are members of the Confederation of Roofing Contractors and all our emergency roofers are City and Guilds trained.
We provide FREE ESTIMATES to all potential customers! Giving our customers the peace of mind they deserve with all work guaranteed.
For more information on our Emergency Roofing Call-outs or to arrange a FREE quotation visit please call us on 02890 726126 (Belfast) | 02891 071279 (Bangor)
or email us at info@adv-group.co.uk.